18+ Knives and knife sets are sold to adults only. Age verification is completed separately before purchase. Knife delivery
Our craft

The art of
the edge.

Precision in the steel, character in the timber and care in the finishing. These are the stages that turn good materials into tools you will keep.

Follow the process

Chapter 01

Design considerations

Every shape starts with a question about use. How long a blade can the board take? How tall should the heel be to keep knuckles clear? Where should the weight sit for a pinch grip?

We work out the profile on paper and in the hand before any steel is cut, then adjust until the knife feels settled rather than merely looks right.

  • Blade length and height chosen for board size and grip
  • Balance point set just ahead of the handle
  • Handle section shaped for a pinch grip
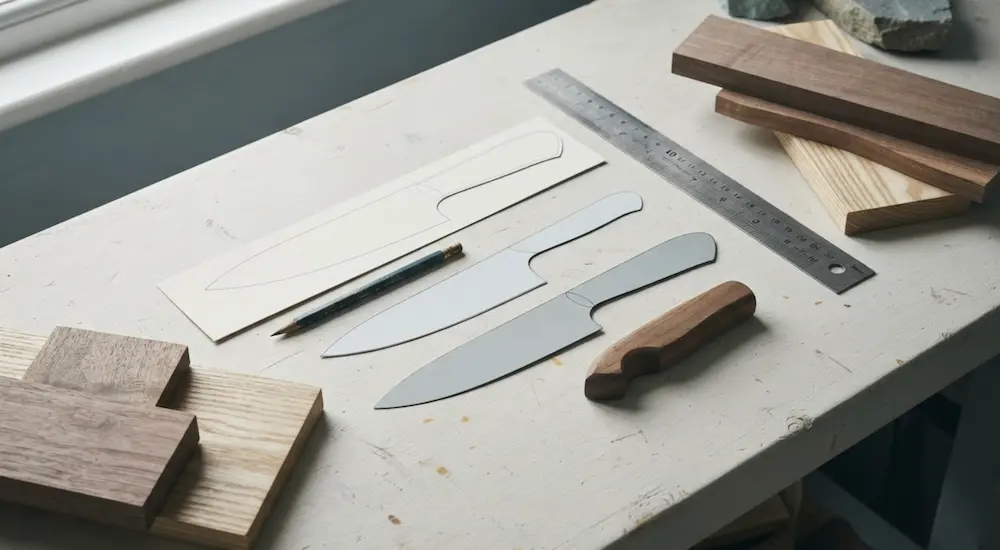
Paper knife profiles, a steel rule and timber offcuts arranged on a pale workbench
Chapter 02

Material selection

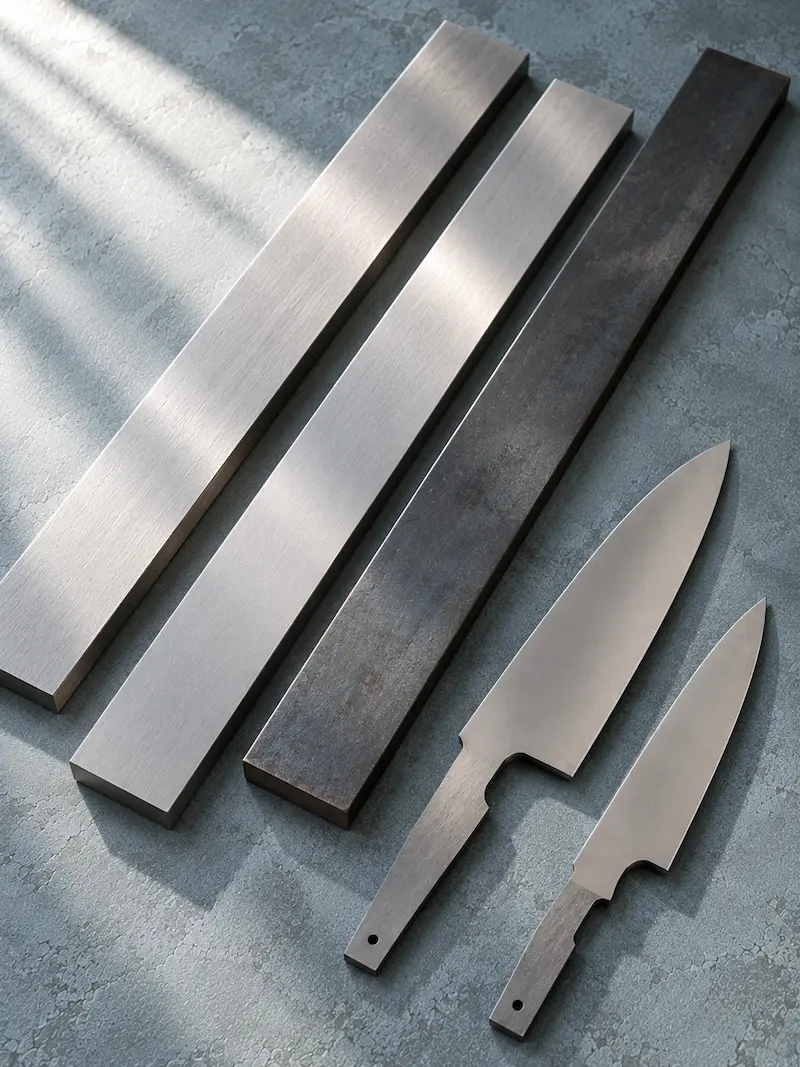
Stainless AEB-L and 14C28N suit kitchens where a knife is washed and dried but not fussed over. Carbon steel 80CrV2 gives a crisper, quicker-sharpening edge for cooks happy to look after it.

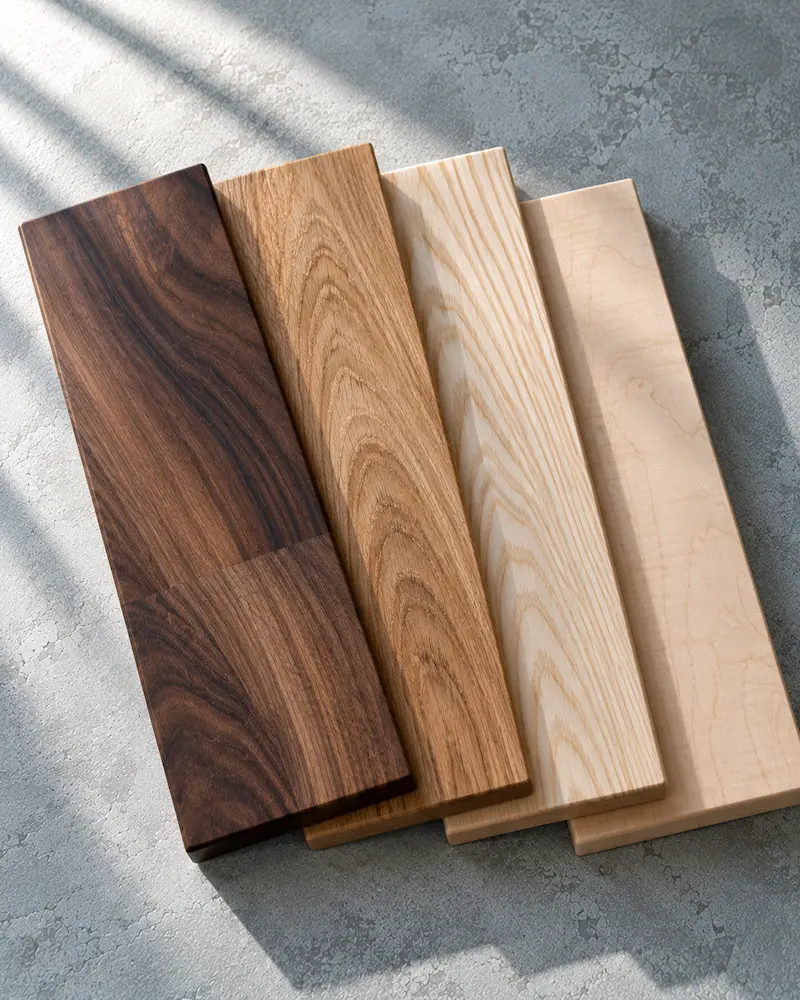
Handles are walnut, oak, ash or maple, and boards are made from the same four timbers. Each is chosen for how it feels and wears as much as how it looks.

  • Two stainless steels and one carbon steel
  • Four timbers, each with its own character
  • Materials matched to the job, not to a catalogue
Lengths of knife steel with a satin finish laid on a muted blue-grey surface
Chapter 03

Blade shaping and finishing

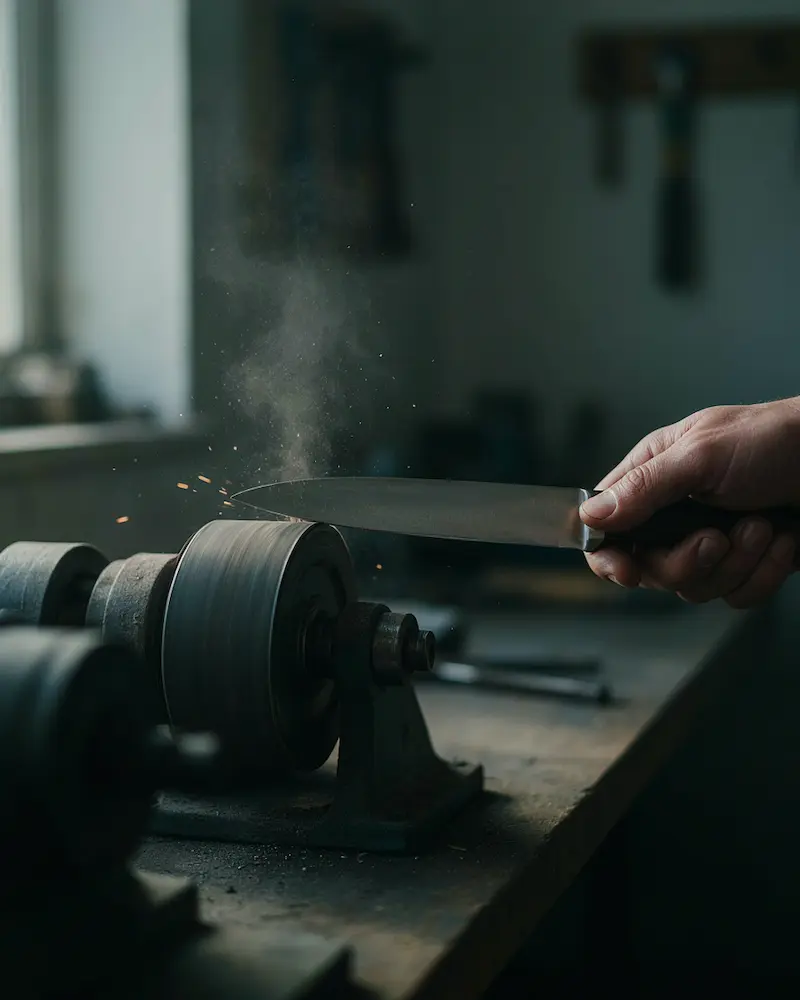
A blade is cut to profile, then hardened and tempered to suit its steel. Grinding then removes steel gradually from spine to edge, leaving a blade that is thin where it needs to be and strong where it needs to be.

The edge is refined on progressively finer abrasives and the faces are finished to a satin surface that is easy to live with.

  • Heat treatment chosen for each steel
  • Thin geometry behind the edge
  • Satin finish that wears evenly
A knife blade being ground on a belt, with steel dust catching the light
Chapter 04

Handle construction

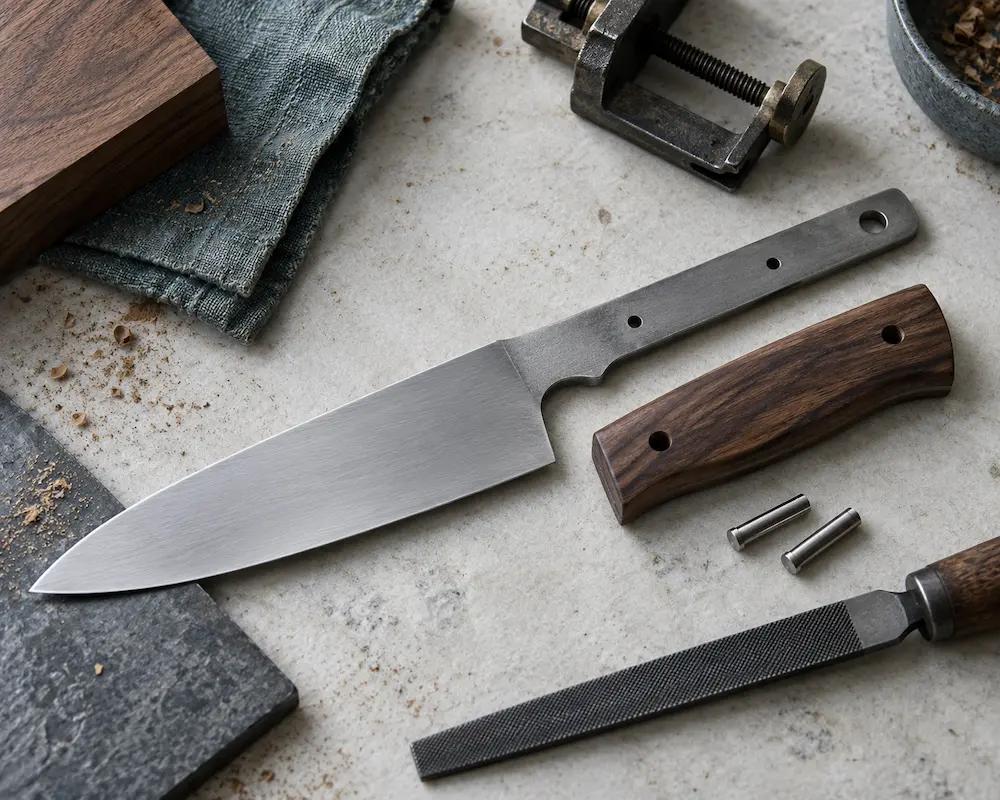
Timber scales are fitted either side of the tang, fixed with stainless pins and shaped by hand until the handle disappears into the palm. The junction with the blade is kept flush, so nothing catches the fingers.

The finish is oil rather than a thick lacquer. It keeps the grain visible and the surface warm, and it can be renewed whenever it looks dry.

  • Stainless pins, flush with the surface
  • Hand-shaped to a pinch grip
  • Oil finish that can be renewed
A walnut handle scale being fitted to a knife tang on a workbench
Chapter 05

Timber preparation

Timber moves as it takes up and loses moisture, so it has to be dry, flat and well chosen before it is made into anything. Boards are cut from selected stock, milled square and laid out so the grain and colour sit well together.

Offcuts and awkward pieces are not forced into products they do not suit.

  • Stock selected for grain and stability
  • Milled flat and square
  • Grain and colour balanced across each board
Walnut, oak, ash and maple boards side by side showing different grain patterns
Chapter 06

Board assembly and finishing

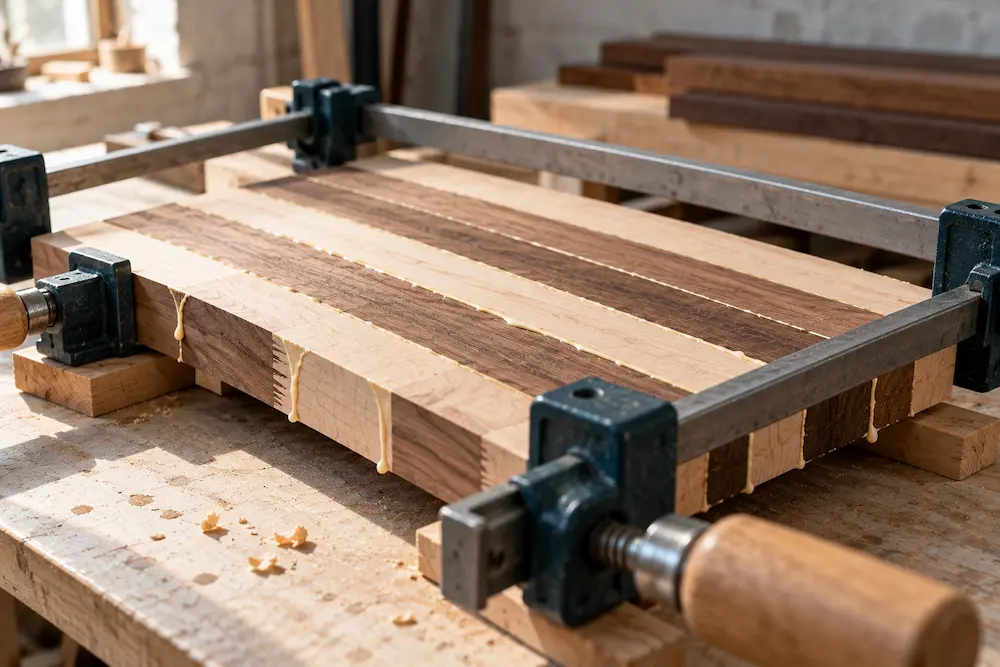
Edge-grain boards are made from long strips glued side by side. End-grain boards take an extra step: the glued block is cut across the grain and the sections are turned on end and glued again to form the checkerboard.

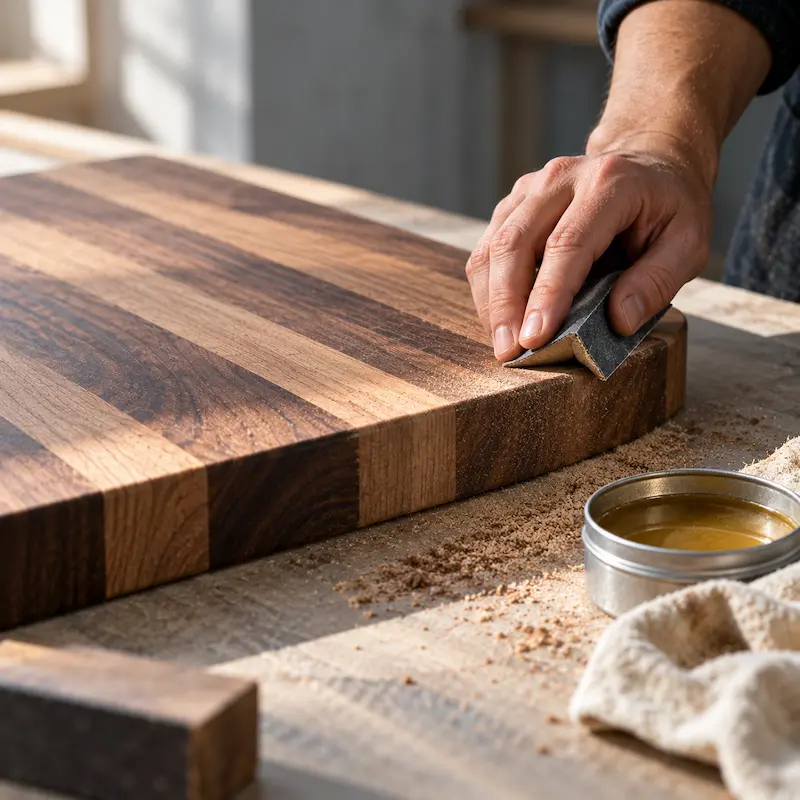
Every board is flattened, eased at the edges and sanded through the grits, then oiled with food-safe mineral oil and wax until the timber stops absorbing.

  • Edge-grain and end-grain construction
  • Flattened and sanded through the grits
  • Food-safe oil and wax finish
Timber strips clamped together during glue-up on a workbench
A hand sanding the edge of a timber chopping board with oil nearby
Chapter 07

Quality checks

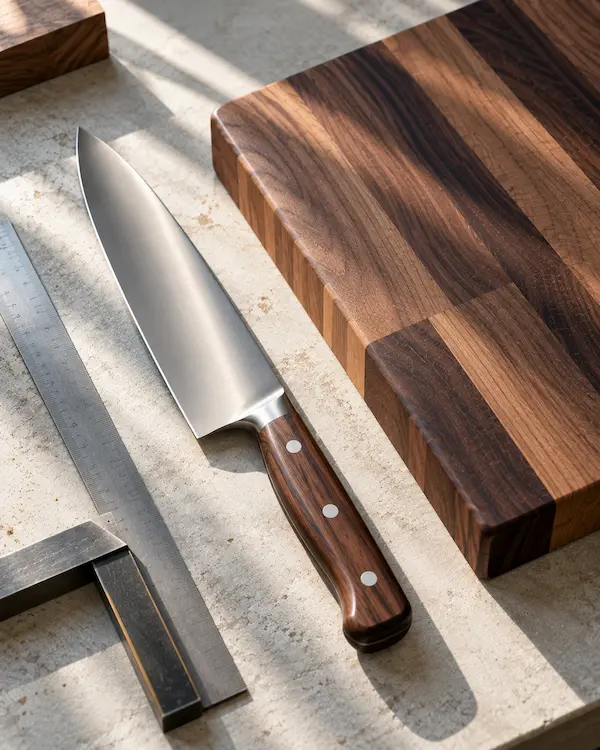
Before a piece goes into a box it is checked against what it is supposed to be. On a knife: edge, alignment, handle fit and finish. On a board: flatness, glue lines and surface.

Anything that does not meet the standard is reworked.

  • Edges and alignment checked on every knife
  • Flatness and glue lines checked on every board
  • Rough or uneven surfaces reworked
A finished knife and board being inspected side by side under directional light
Chapter 08

The value of small batches.

Making fewer things at a time means each can be checked, adjusted and finished properly.

Small batches let us pay attention to the things that are hard to see in a product photograph: how a handle meets a blade, how a board lies flat, how an edge feels on the first cut.

It also means some pieces will be limited or made to order, and we say so plainly on each product page rather than promising what we cannot deliver.

Explore the collection Look after what you buy